


")


Do you want to share your VR experience with your friends and family? Here is everything you need to know to cast your Oculus Quest 2 onto your TV.
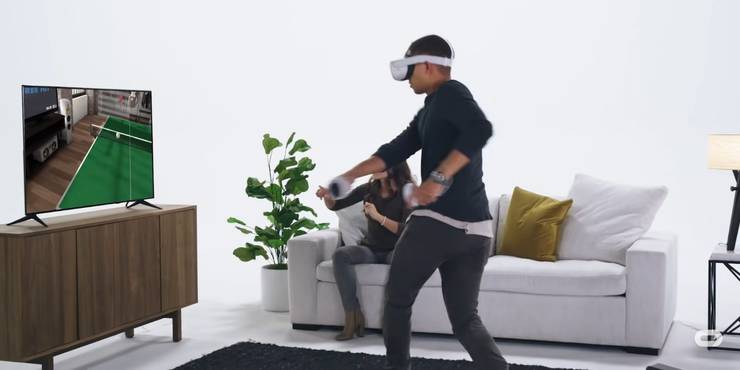
The Oculus Quest 2 gives you an amazing VR experience, but it is something that was made to be shared with your friends and family. They watch as you wildly swing your arms in the air around you and are often curious as to what is going on inside the headset. Luckily, there is a way to cast it onto your TV so they can be included in the fun.
Most smart TVs should allow you to do this, but some will require extra equipment in order to use this feature. A few simple buttons will have you casting your Oculus Quest 2 experience onto the TV in no time, so everyone can be involved in your gameplay.
Updated March 12, 2023: The Oculus Quest 2, now known as the Meta Quest 2, has seen some changes over time, with new features and updates released regularly. But even now, it remains to be one of the most convenient and affordable ways to experience proper VR. Why not share that experience? We’ve updated this guide to improve readability and ensure that everything is clear and easy to understand.
Choose Your Method Of Casting
There are two different ways in which you can cast your best games onto the TV. However, the constant between both methods is that you will need Chromecast or some other casting device. This could mean you have a smart TV with Chromecast built into it, or you have bought a physical device and connected it to your TV.
| Supported Casting Devices That Can Be Paired With Your Oculus Quest 2 |
|---|
| Google Chromecast |
| Google Home Hub |
| NVIDIA Shield |
| NVIDIA Shield TV |
Here are the two methods that can be used to cast your screen:
| Ways To Connect | |
|---|---|
| Methods For Casting To Your Screen | Directly from the Oculus Quest 2 Headset Using the Oculus App from a Mobile Device |
Casting From The Oculus Quest 2 Headset
| Steps For Casting From The Oculust Quest 2 Headset | |
|---|---|
| 1. Turn on your Oculus Quest 2 Headset and the TV | Ensure that both of your devices are ready to share and receive data, so there are no hiccups along the way. |
| 2. Press the white circle on your controller, then locate the Home Menu on the bottom of the screen | The Home Menu is where you can access all of the main functions of your Oculus Quest 2. It appears as a tab across the bottom of your screen. |
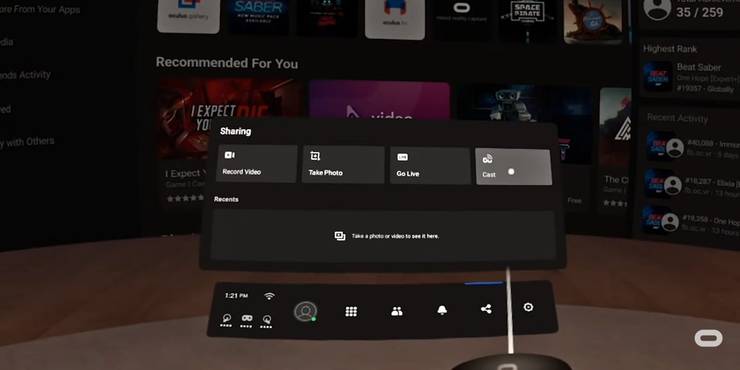
| 3. Click on the “Share” button | This looks like your typical social media share button with three buttons and lines connecting them. |
| 4. Click on “Cast” | This will be on the far right of the bar that appears over your Home Menu. It will be next to other options like Record Video, Take Photo, or Go Live, which you might want to use to stream gameplay. |
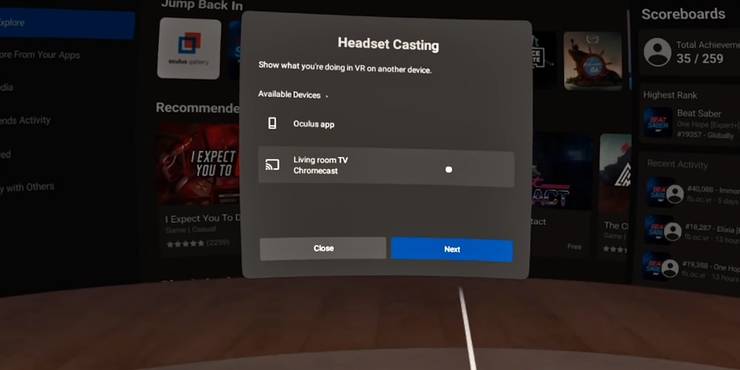
| 5. Select your TV or casting device from the window that appears | The available devices will load up in front of you, but if your device does not appear, make sure you have it enabled. |
| 6. Click “Next,” and then a notification will tell you that the casting has begun | This is the simplest method of casting to your TV as it doesn’t require any outside devices aside from the one you need to enable casting to your TV. |
Note:
When you click “cast” you’ll see it at the far end, next to Record Video, Take Photo, or Go Live.
If you don’t see your device available and you know it’s compatible, make sure you check the settings on the device you’re connecting to, ensuring the option to cast to your device is enabled on that device.
Casting From The Mobile App
1. Download the Oculus App on your mobile phone
The Oculus App is completely free and its symbol is a white circle that is elongated from the left to right. You can sign up using your Oculus account or your Facebook account.
2. Connect your phone and Oculus Quest 2 to the same wifi network
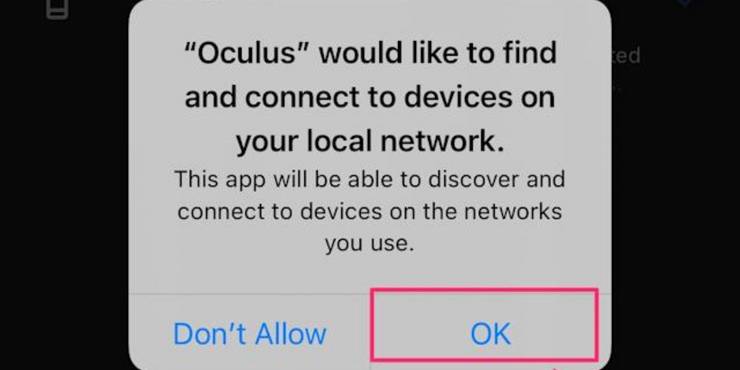
You may need to give the app permission to use the wifi network if this is the first time connecting it.
3. Turn on the Oculus Quest 2, your TV, and start the Oculus App
Make sure all of your devices are ready to share information in order for casting to be successful.
4. In the Oculus App, locate the rectangle with waves coming from it in the upper right-hand corner
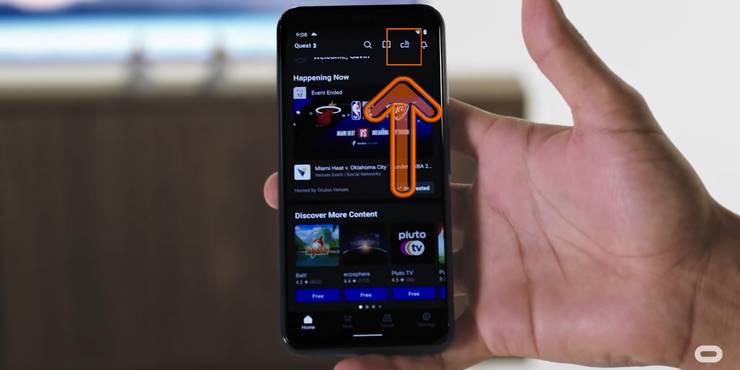
It is the symbol next to the search button and the book, but directly before the bell notification symbol.
5. Make sure your Oculus Quest 2 Headset is connected
When you tap on the symbol, it should automatically connect to your Oculus Quest 2 headset. It will appear in the “Cast From” section of the app.
6. Select your TV or casting device in the “Cast To” section
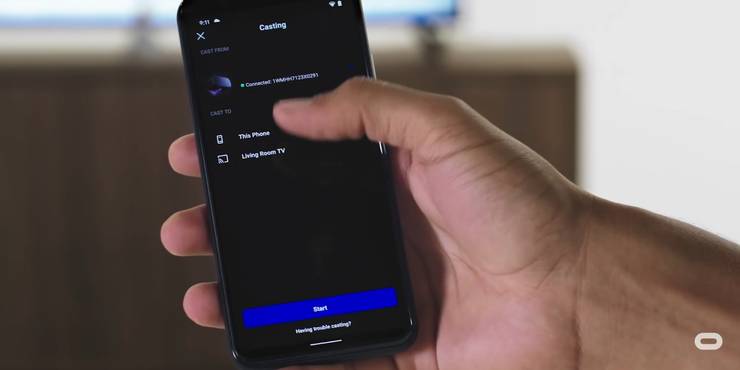
If your TV or other casting device isn’t appearing, you can tap the button to search for other devices, and as long as it is enabled, it should appear.
7. Click Start at the bottom of the screen to begin casting your gameplay
A notification will appear on your headset once casting has begun to let you know that your gameplay is now on your TV.
How To Stop Casting
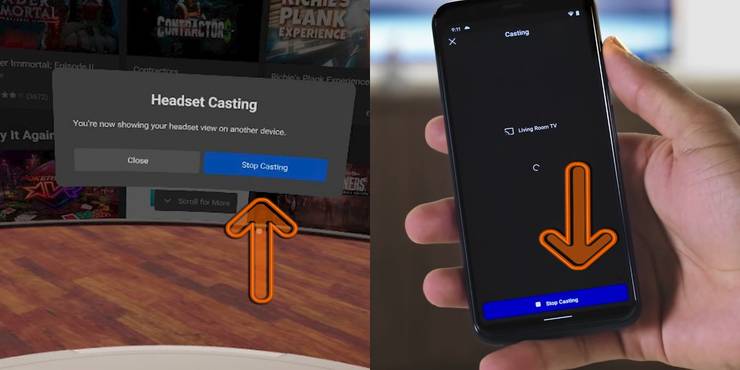
If the gameplay becomes too intense, you can always stop casting to your TV. If you are stopping it directly from your headset you just need to bring up your menu, select the “Share” button and then choose the option “Stop Casting.”
If you started casting from your mobile app, you can go back to the casting screen by clicking on the rectangle with the lines coming off it in the upper right-hand corner. Next, simply select the button at the bottom of the screen to stop casting.
While your here, why not check out our recent post 1,000+ OCULUS META QUEST 2 & 1 VR GAMES FULL ACCESS LIBRARY


